Client-Side Tools: Let Your AI Chat Agent Act on Your Website
Okidoki's chat agent can do more than talk. With client-side tools you register in JavaScript, it can scroll to a section, open a modal, add to cart, submit forms, and read live data from your app. Here's how to build them.
Okidoki Team
July 9, 2026·6 min read
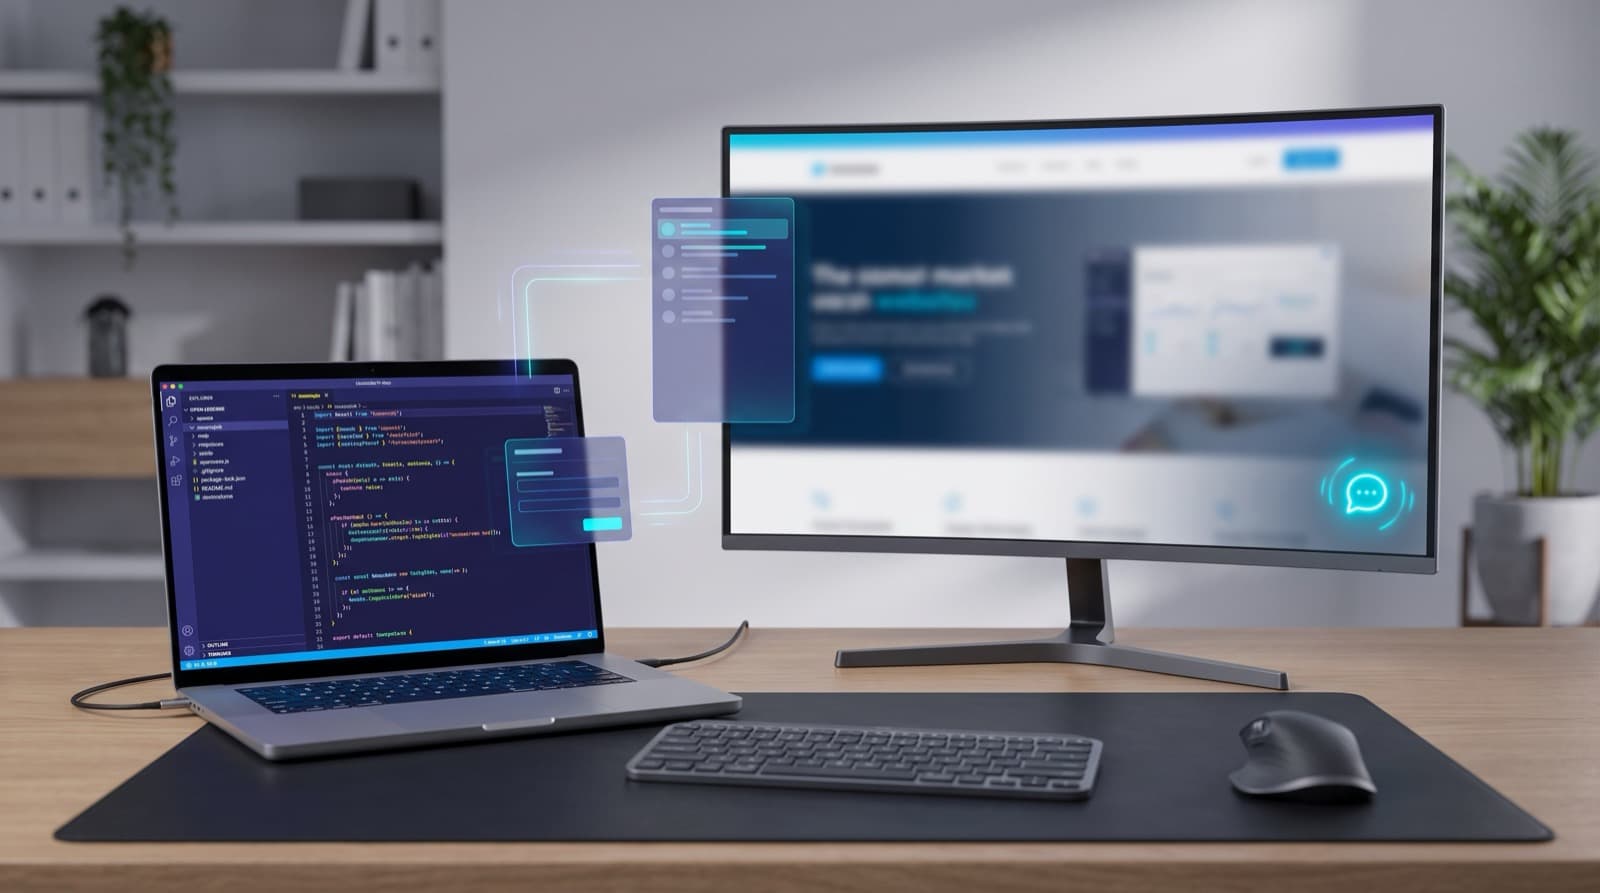
Most chat widgets can only talk. Okidoki's chat agent can also act on your page — scroll a visitor to the right section, open a modal, add an item to the cart, submit a form, or look up live data from your app — because you can register client-side tools straight from your website's JavaScript. This guide shows web developers how to define those tools with OkidokiWidget.registerTools(), using the exact API that powers okidoki.chat's own landing page.
What are client-side tools?
A client-side tool is a JavaScript function you expose to the AI. You give it a name, a plain-language description of when to use it, an input schema, and a handler that runs in the visitor's browser. During a conversation the agent decides when the tool is relevant, calls it with structured arguments, receives whatever your handler returns, and continues the conversation with that result in context.
Because the handler runs in the browser, it has full access to your page: the DOM, your framework's state, your cart, your router, and any API your front-end can already reach. The AI never touches your code directly — it only calls the tools you choose to register.
The shape of a tool
Register one or more tools with OkidokiWidget.registerTools([...]). Each tool is an object:
OkidokiWidget.registerTools([
  {
    name: 'add_to_cart',
    description: 'Add a product to the cart. Use when the shopper agrees to buy or asks to add an item.',
    input: {
      productId: 'The product ID to add',
      quantity: 'How many units (optional, defaults to 1)'
    },
    handler: async (args) => {
      const result = await myStore.addToCart(args.productId, args.quantity || 1);
      return { success: true, cartCount: result.totalItems };
    }
  }
]);
A few things worth knowing:
- The agent sees your tool prefixed with
client_— soadd_to_cartis exposed to the model asclient_add_to_cart. You still register and unregister it by its original name. - Whatever your handler returns is sent back to the AI. Return a small, structured object (like
{ success: true, ... }) so the agent can explain what happened. If your handler returns nothing, okidoki reports a simple "Done". - The
inputschema can be simple or detailed. The short form maps each field name to a description string; the detailed form (below) lets you set a type and constrain the values.
Example 1: navigate the visitor to a section
This is the exact pattern okidoki.chat uses on its own landing page. When a visitor asks "where's your pricing?", the agent scrolls them there instead of pasting a link:
OkidokiWidget.registerTools([
  {
    name: 'navigate_to_section',
    description: 'Scroll the user to a section of the page. Use when they ask to see features, pricing, how it works, or testimonials.',
    input: {
      section: {
        type: 'string',
        description: 'One of: features, how-it-works, pricing, testimonials',
        enum: ['features', 'how-it-works', 'pricing', 'testimonials']
      }
    },
    handler: async (args) => {
      const el = document.getElementById(args.section);
      if (!el) return { success: false, error: 'Section not found: ' + args.section };
      el.scrollIntoView({ behavior: 'smooth', block: 'start' });
      return { success: true, message: 'Navigated to ' + args.section };
    }
  }
]);
Note the enum inside the field: it constrains the values the model can pass, so the agent can only navigate to sections that actually exist.
Example 2: open a modal (or the scheduling flow)
Opening UI is just another handler — trigger your own modal straight from the AI:
OkidokiWidget.registerTools([
  {
    name: 'open_size_guide',
    description: 'Open the size-guide modal when the shopper is unsure which size to pick.',
    handler: async () => {
      myUI.openModal('size-guide');
      return { success: true };
    }
  }
]);
For scheduling specifically, okidoki ships a built-in method — no custom tool needed. Call it from a button or from inside a tool of your own:
// Open the scheduling modal
OkidokiWidget.scheduleMeeting();

// ...or pre-select an event type by name
OkidokiWidget.scheduleMeeting('Discovery Call');
Example 3: capture a lead or submit a form
You can let the agent submit your own form via a tool, or use okidoki's built-in sendEmail() to forward captured details to the inbox connected to your app:
// Built-in: forward a lead to the email connected to your app.
// Requires a contact field (email or phone) and a message of 3+ words;
// rate-limited to 5 submissions per hour per visitor.
OkidokiWidget.sendEmail({
  name: 'Jane Doe',
  email: 'jane@example.com',
  message: 'Interested in the enterprise plan for a 40-person team.'
});
Prefer your own backend? Register a tool that posts to your API and returns the result to the agent, so it can confirm the submission in natural language.
Example 4: query your company or user data programmatically
Tools are two-way: a handler can read data and hand it back to the agent so its answers are grounded in your live app. This is how you let the agent "know" the current user, their plan, or company-specific details without hard-coding anything:
OkidokiWidget.registerTools([
  {
    name: 'get_current_user',
    description: 'Look up the signed-in user so answers can be personalized (name, plan, renewal date).',
    handler: async () => {
      const user = await myApp.getSession();
      if (!user) return { signedIn: false };
      return {
        signedIn: true,
        name: user.name,
        plan: user.plan,
        renewsOn: user.renewsOn
      };
    }
  }
]);
Now, when a visitor asks "when does my plan renew?", the agent calls get_current_user, reads the answer from your app, and replies with the real date. The same idea covers company data: expose a get_store_hours or get_inventory_status tool that returns values from your systems.
Tip: for content that already lives on your website or in uploaded documents, okidoki can also search your knowledge base directly with the ask() API. Reach for a custom tool when the data lives in your app state or backend.
Controlling how tools run
Each tool accepts optional execution settings:
| Option | What it does |
|---|---|
timeout | Milliseconds before the tool is cancelled. Default 60000 (60s), max 600000 (10 min) for long jobs. |
lockGroup | Tools sharing a group name never run at the same time — use it to serialize handlers that write to the same state. |
parallel | Set to true for read-only tools that are safe to run alongside anything else. |
For slow handlers, tell the visitor what's happening with setToolNotification():
OkidokiWidget.registerTools([
  {
    name: 'generate_report',
    timeout: 300000,
    lockGroup: 'reports',
    handler: async (args) => {
      OkidokiWidget.setToolNotification('Building your report...');
      const url = await myApp.buildReport(args);
      OkidokiWidget.setToolNotification(null);
      return { success: true, url: url };
    }
  }
]);
Registering and cleaning up
Register tools once the widget is ready, and unregister them when the view goes away. In plain HTML:
<script src="https://okidoki.chat/embed/okidoki.js" data-app-id="YOUR_APP_ID"></script>
<script>
  function register() {
    if (!window.OkidokiWidget || !window.OkidokiWidget.registerTools) {
      return setTimeout(register, 500); // wait for the widget to load
    }
    window.OkidokiWidget.registerTools([ /* your tools */ ]);
  }
  register();
</script>
In React, register inside useEffect and return a cleanup that unregisters — exactly how okidoki.chat does it on its own site:
useEffect(() => {
  const w = window.OkidokiWidget;
  if (!w) return;
  w.registerTools([{ name: 'navigate_to_section', /* ... */ }]);
  return () => w.unregisterTools(['navigate_to_section']);
}, []);
Calling unregisterTools() with no arguments removes every tool you registered. There is no separate npm package to install — the tools API lives on the global window.OkidokiWidget that the embed script creates.
Best practices
- Write descriptions for the AI, not for humans. State clearly when to use the tool; the model reads this to decide.
- Validate arguments inside the handler and return a structured error (
{ success: false, error: '...' }) instead of throwing. - Keep tools idempotent where you can, and use
lockGroupfor anything that mutates shared state. - Return small objects the agent can turn into a sentence — not huge blobs.
- They work everywhere the agent does — the same tools run in text, voice, and video chat.
Where to go next
The full method reference and copy-paste snippets live on the okidoki developers page, and there's a machine-readable version for AI coding assistants at llms-full.txt. For a conceptual overview, see what is the AI Page Copilot.
Frequently asked questions
What are okidoki's client-side tools?+
They are JavaScript functions you register with OkidokiWidget.registerTools() so the AI chat agent can act on your page — navigate to a section, open modals, add to cart, submit forms, or fetch live data. Each tool has a name, a description, an input schema, and a handler that runs in the visitor's browser.
How does the AI call my function?+
During a conversation the agent decides when a tool is relevant and calls it with structured arguments. Your tool is exposed to the model prefixed with client_ (for example client_add_to_cart), but you register and unregister it by its original name.
Can a tool send data back to the agent?+
Yes. Whatever your handler returns is passed back to the AI as the tool result, so return a small structured object like { success: true, ... }. This is how you let the agent read live company or user data from your app. If the handler returns nothing, okidoki reports "Done".
Do client-side tools work in voice and video chat?+
Yes. The same registered tools are available across text, voice, and video modes, so the agent can trigger page actions no matter how the visitor is chatting.